Glenview Doors® Modern Pivot Doors
A pivot door with the proper pivot hinges is very easy to install in new and existing situations. When the hinges are integrated into the door, there is barely any work left to do on-site. Only the floor- and ceiling plates must be mortised. Then the door can simply be lifted into place.
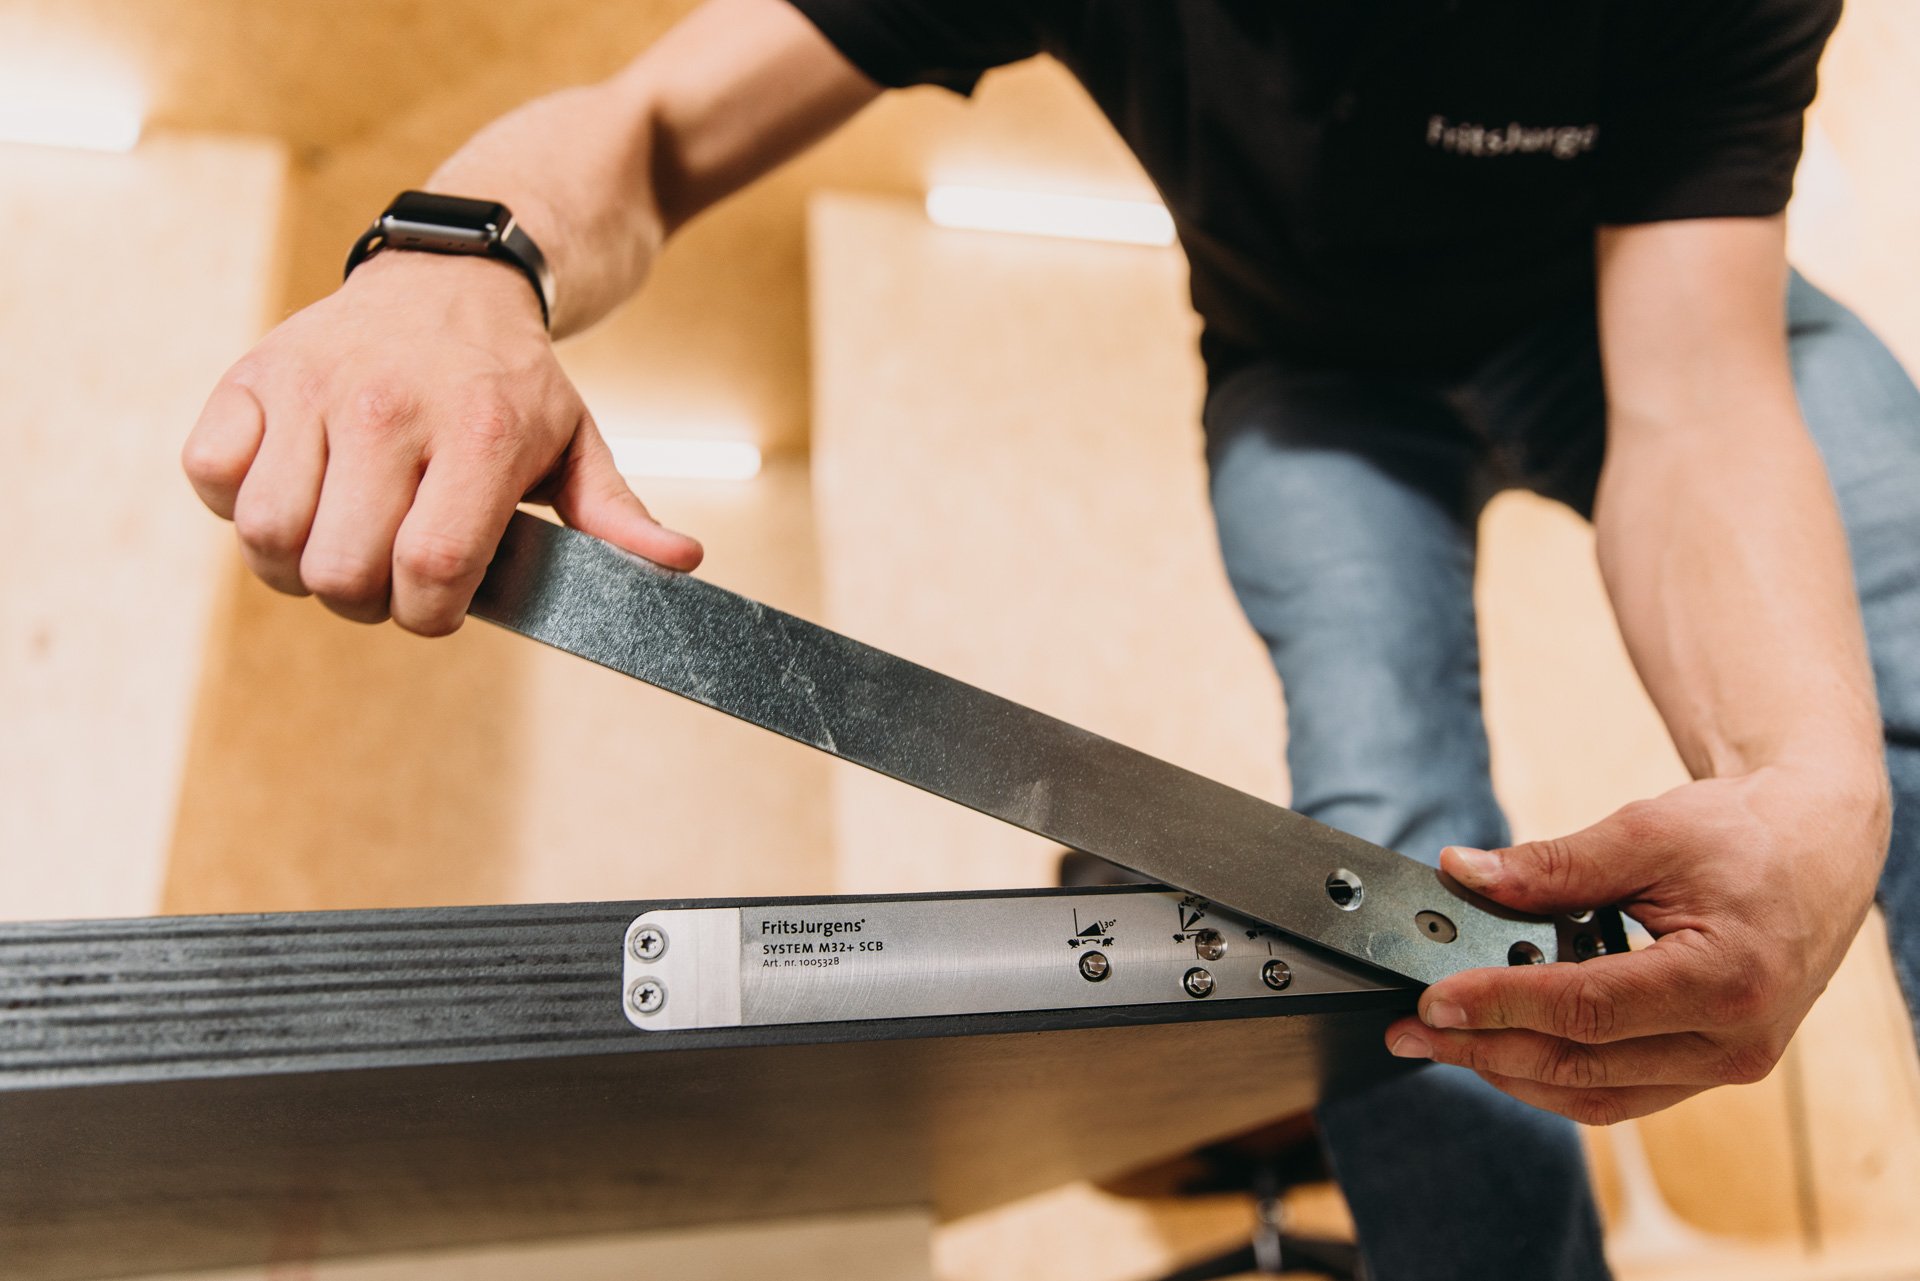
First, you mount the pivot system and top pivot inside the top and bottom of the door. On location, you place the floor and ceiling plate. Then, you lift the door into place and fine-tune the placement and movement. Mounting the pivot system and top pivot in the door is a process that depends on the door material you work with. The right shapes are milled out of wood doors according to a milling manual. When working with aluminum or steel, the systems are often fitted into profiles inside the door.
On-site, the floor plate and ceiling plate are mounted. The placement of these plates is calculated on forehand. Then the door is lifted into place. The pin of the system on the door’s bottom side is placed in the floor plate, and the pin in the top pivot is turned upward into the ceiling plate to secure the door. Part of the placement of the door is the adjustment of the positioning that allows you to move the door slightly to perfect its location.
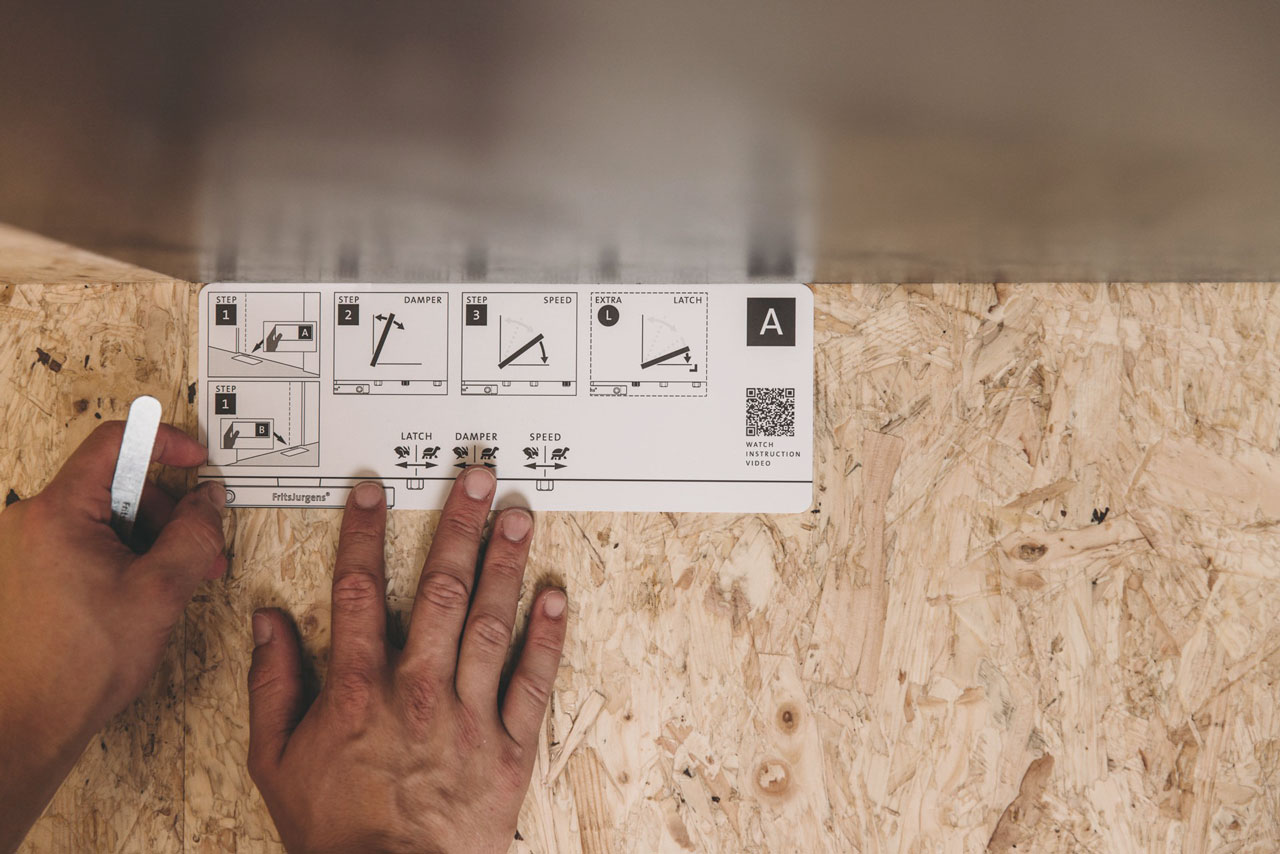
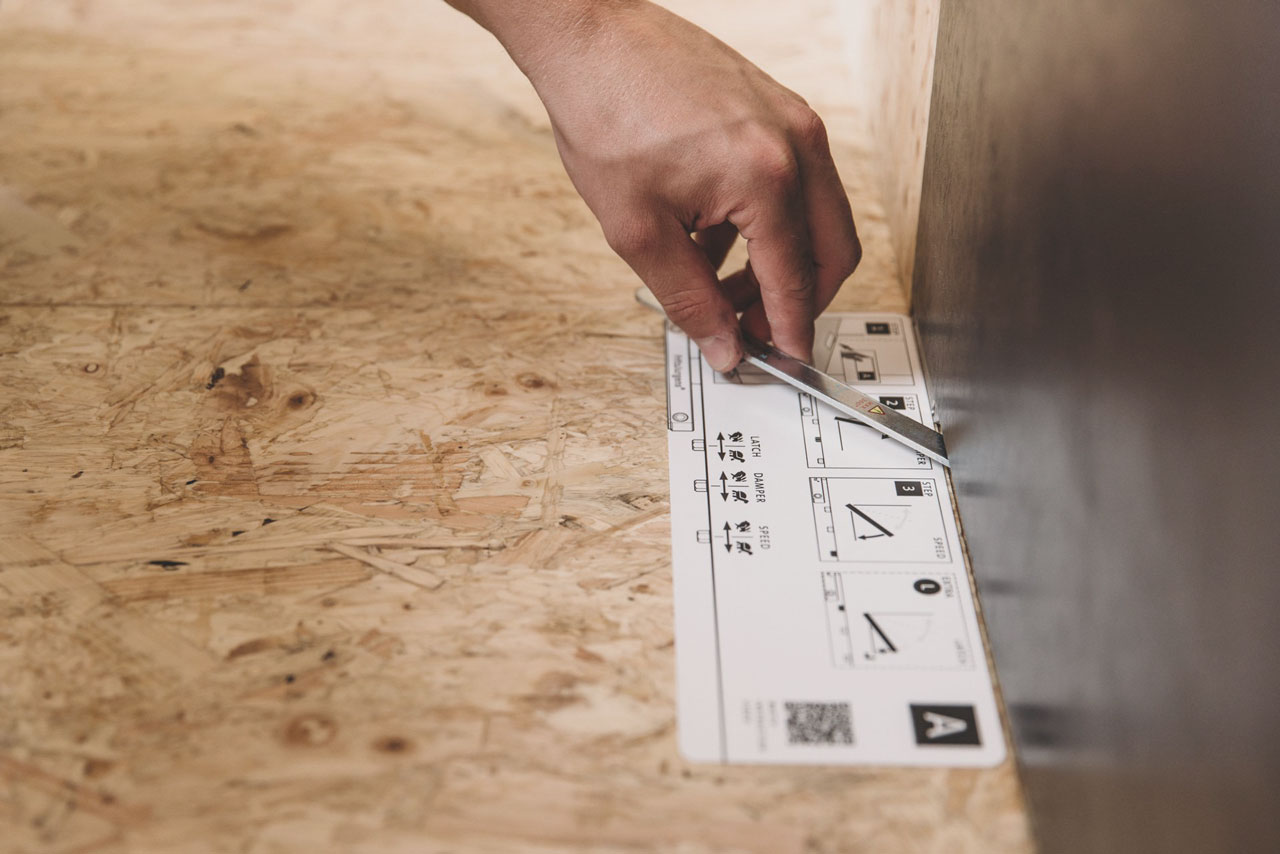
The last part of the pivot door’s installation is the fine-tuning of the door’s movement. High-quality pivot hinges offer various ways to fine-tune the movement to your own preferences, from soft-close to opening damping and closing speed. In our installation video above you can see the process and the ease of installation.
1 Mount the floor plate 2 Mount the ceiling plate 3 Place the door 4 Fine-tune the door
The installation of a pivot door with System M+ and System M roughly consists of the same four steps.
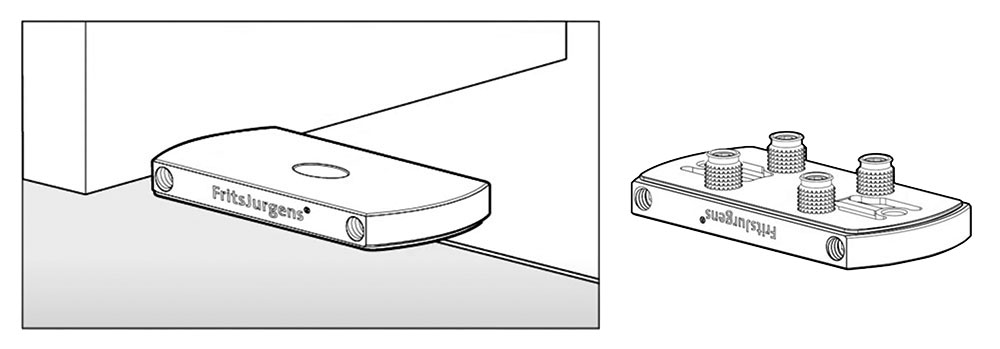
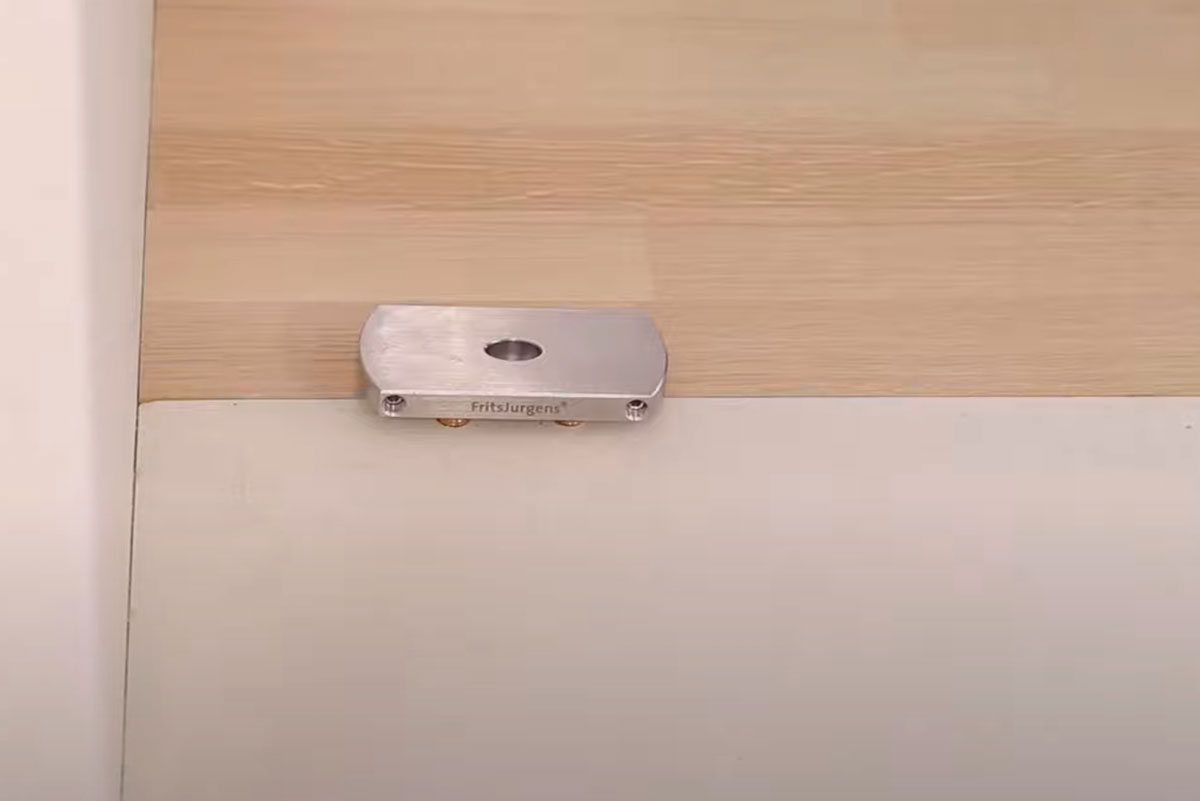
FritsJurgens’ floor plates can be placed on a single floor type, but on two different floor types as well. When mounting the floor plate, the drilling mall is used to determine the placement of the 8 mm spindles on the bottom of the floor plate.
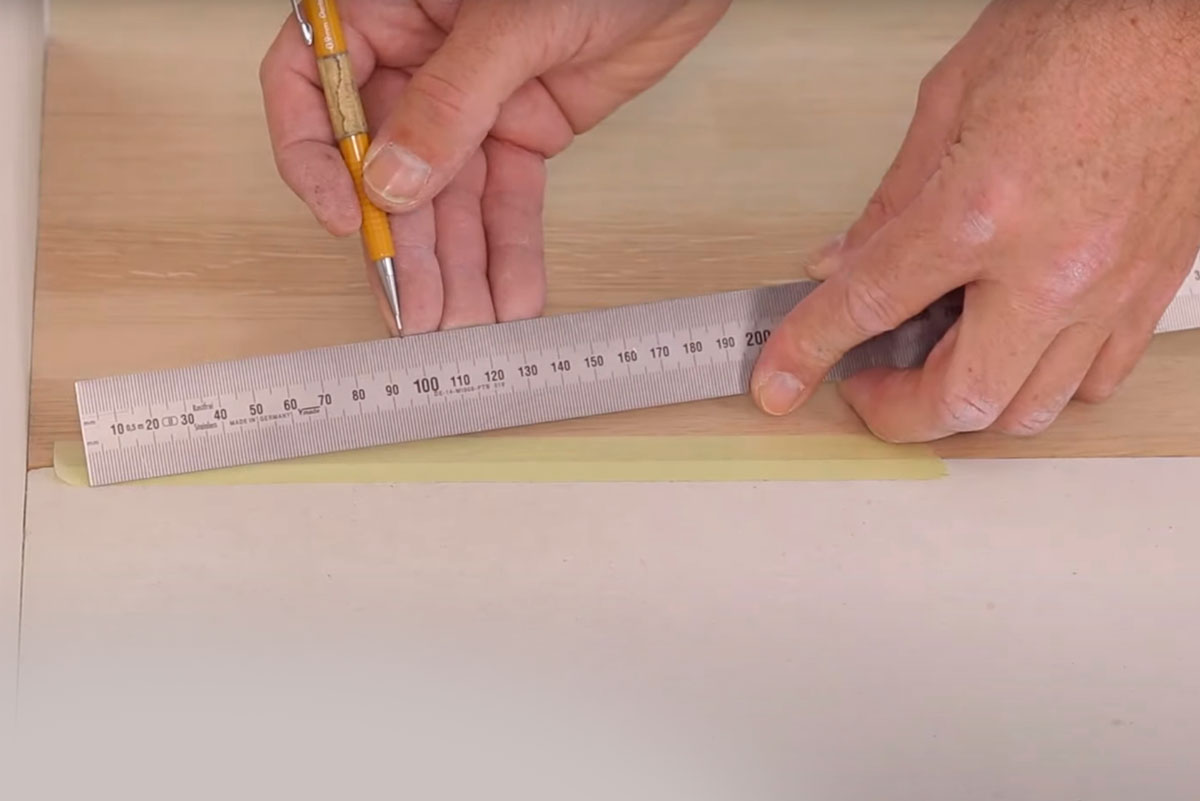 Measure
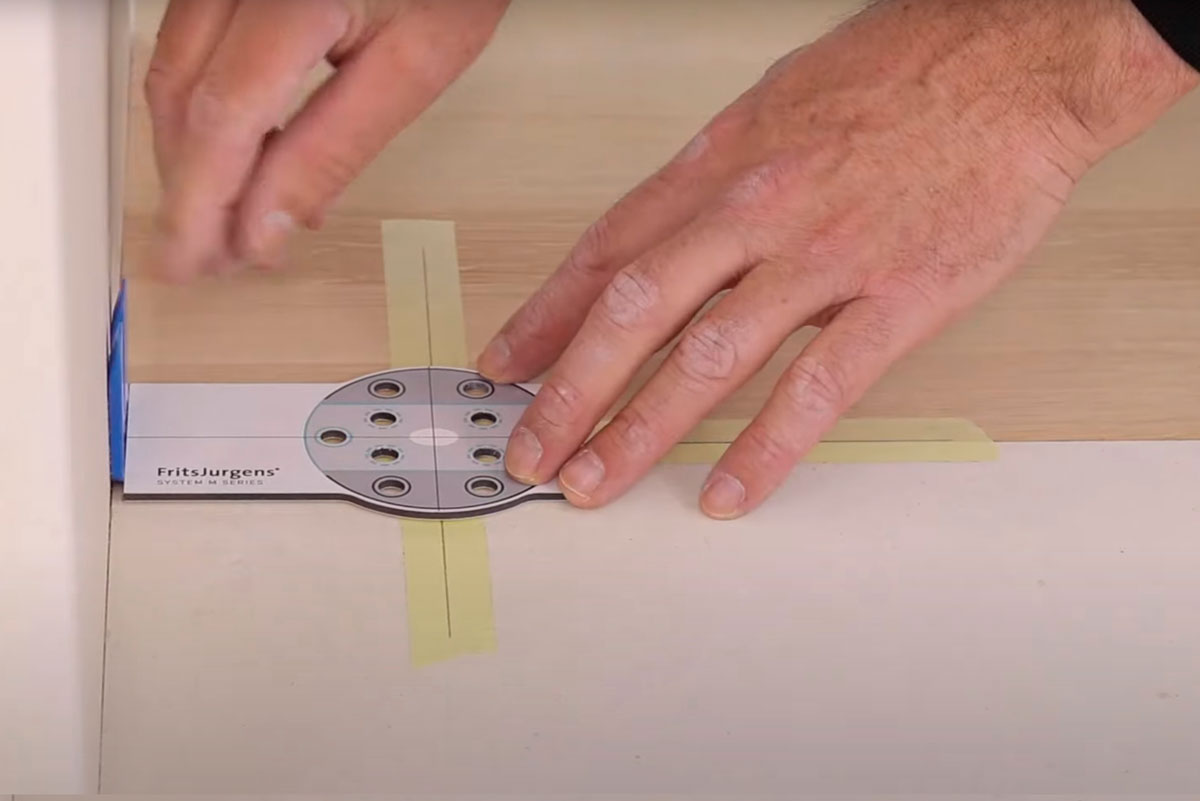 Mark drill holes
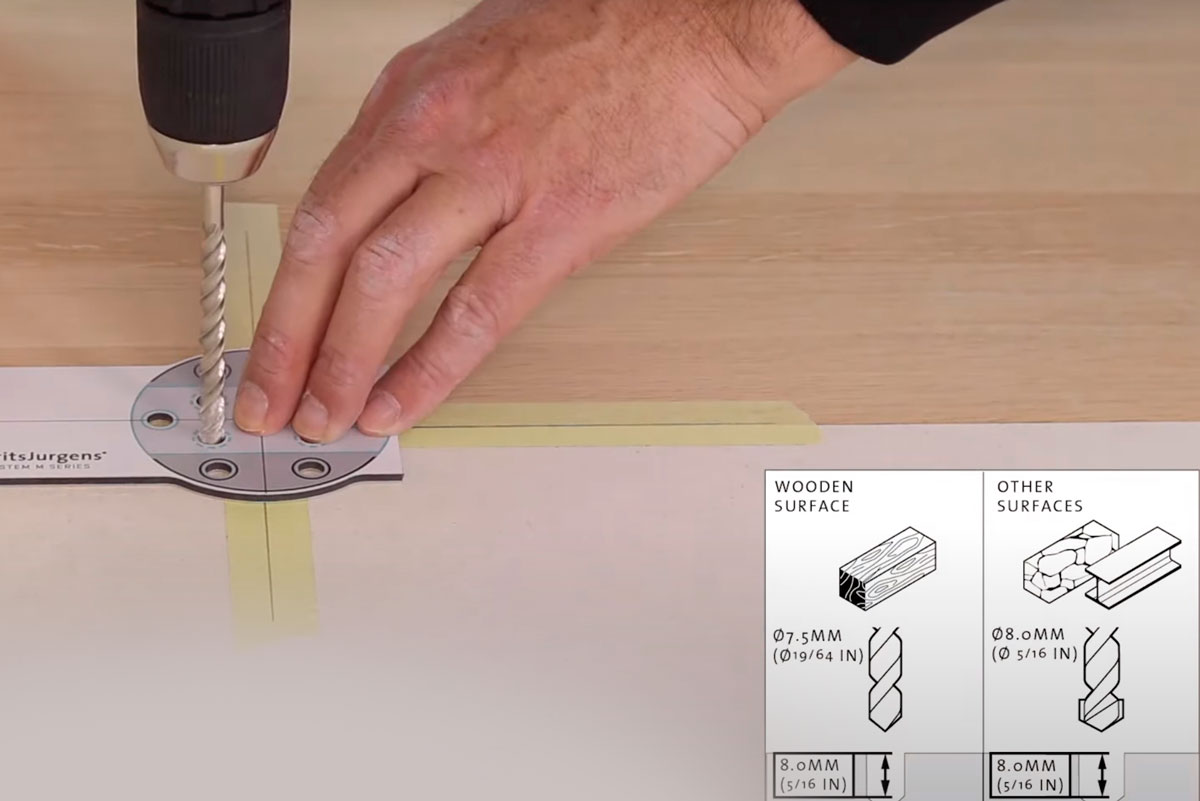 Drill Holes for the floor plate
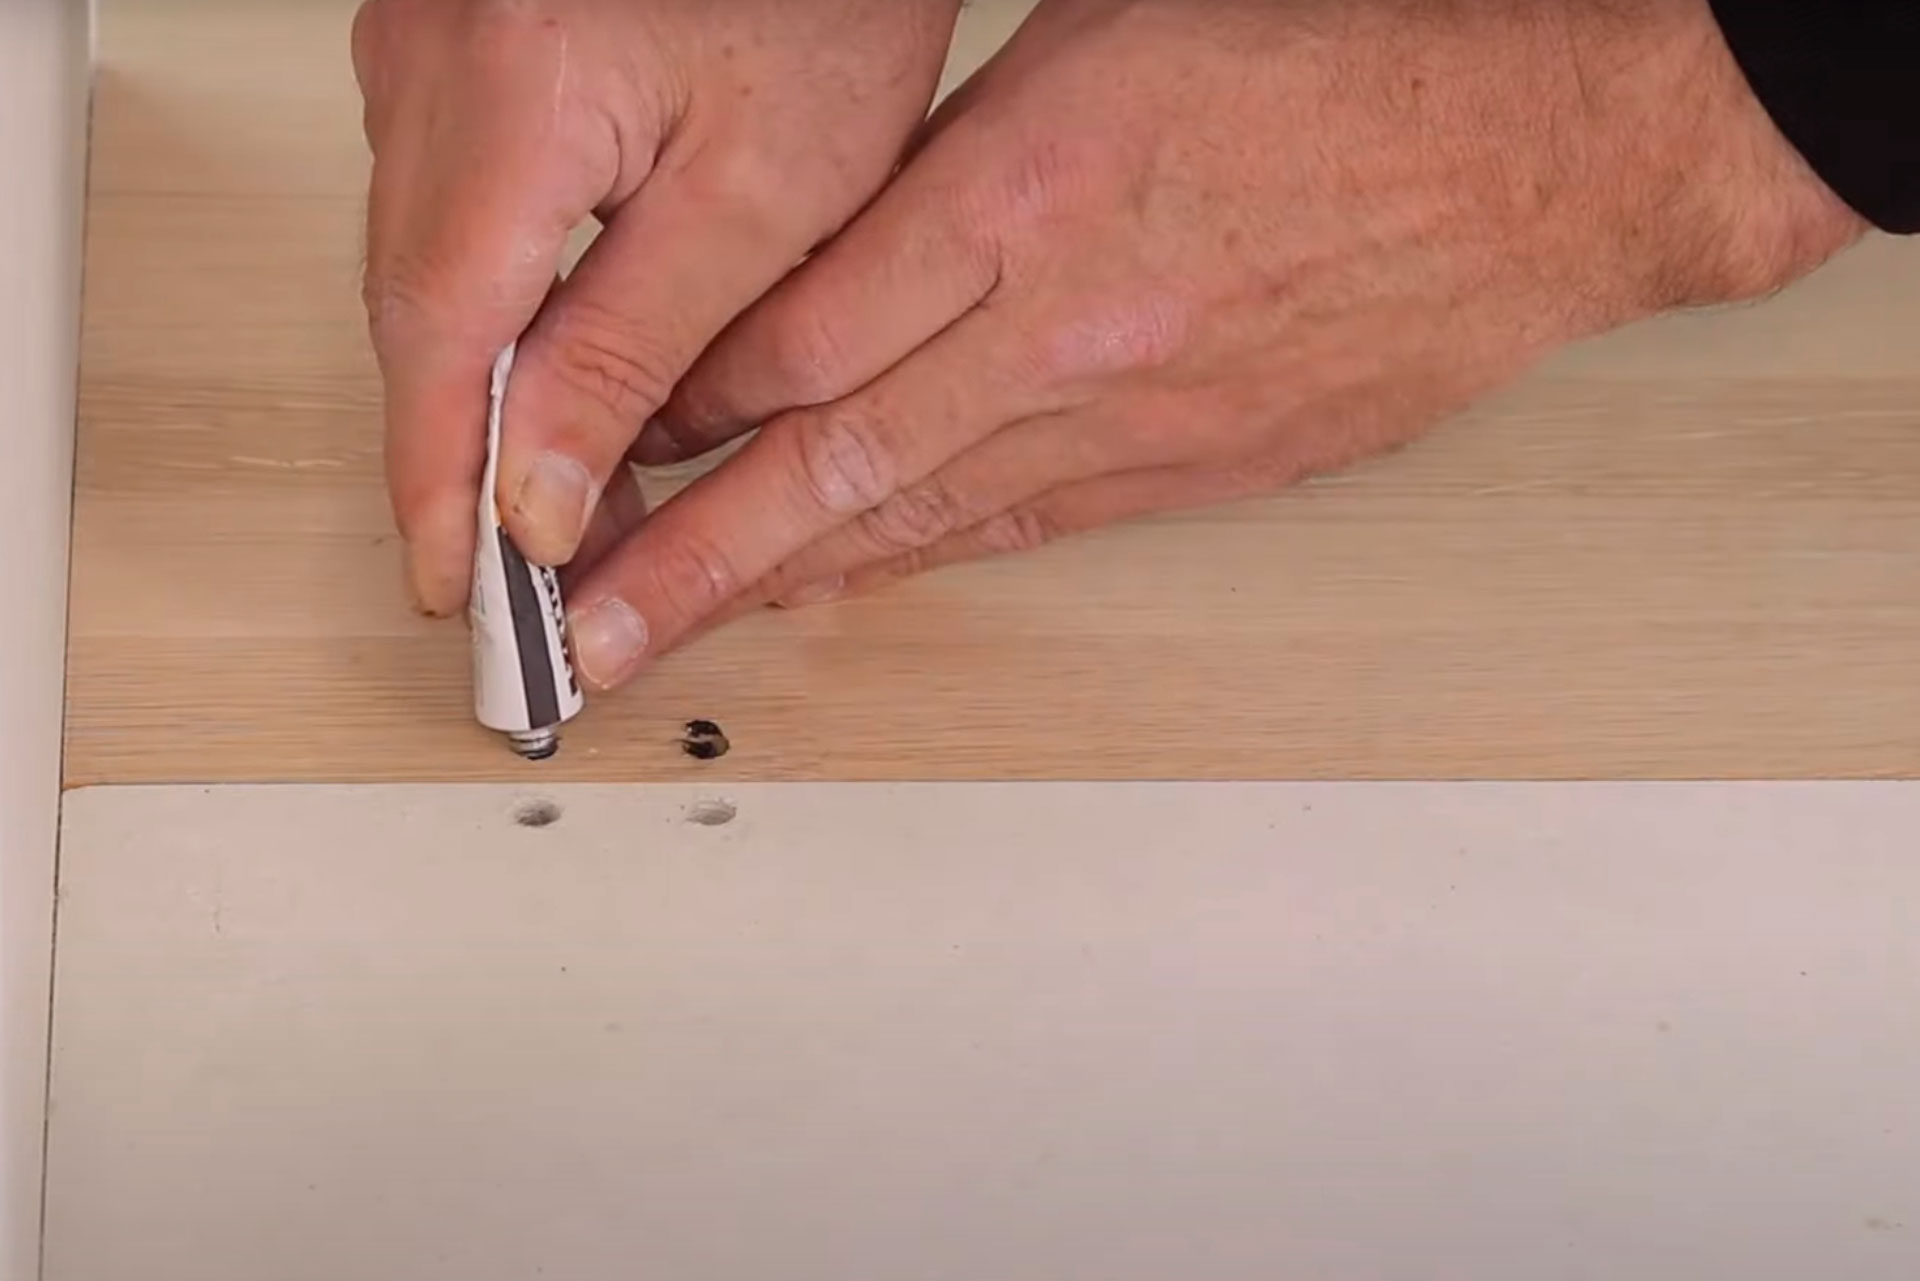 Add glue to the holes in the floor
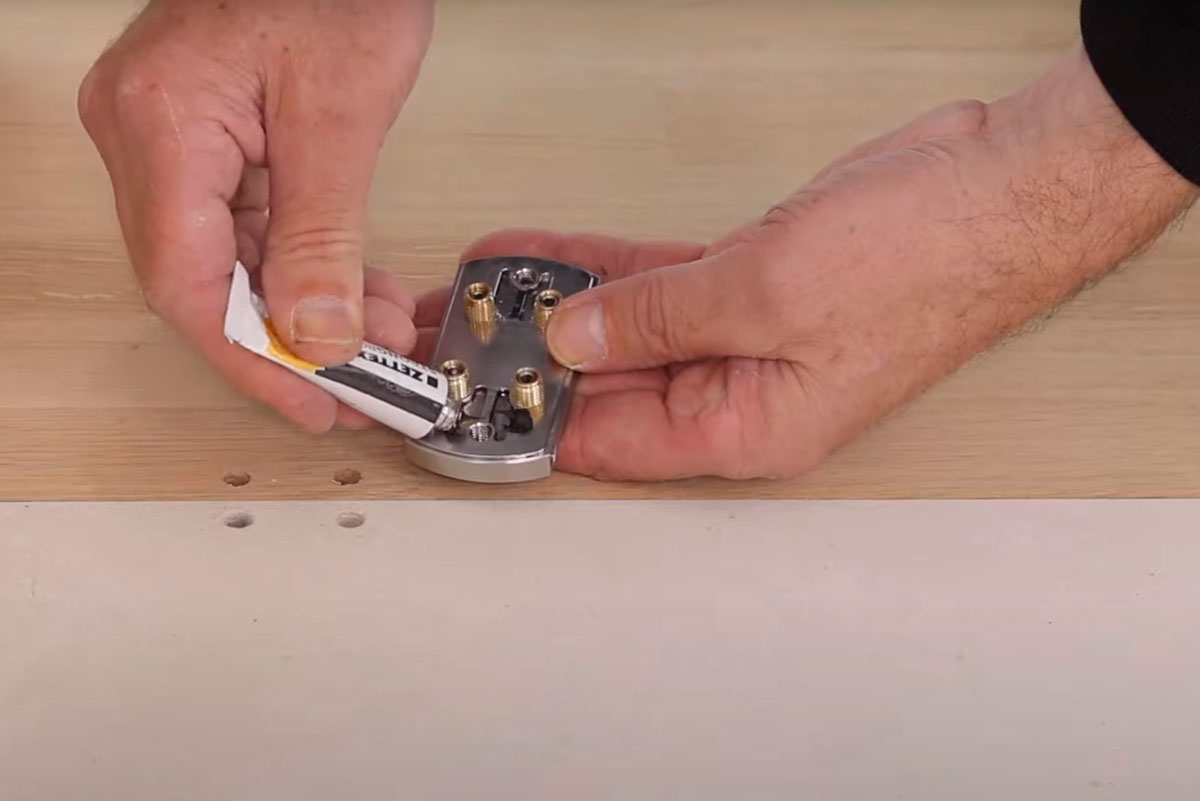 Add glue to the bottom of the plate
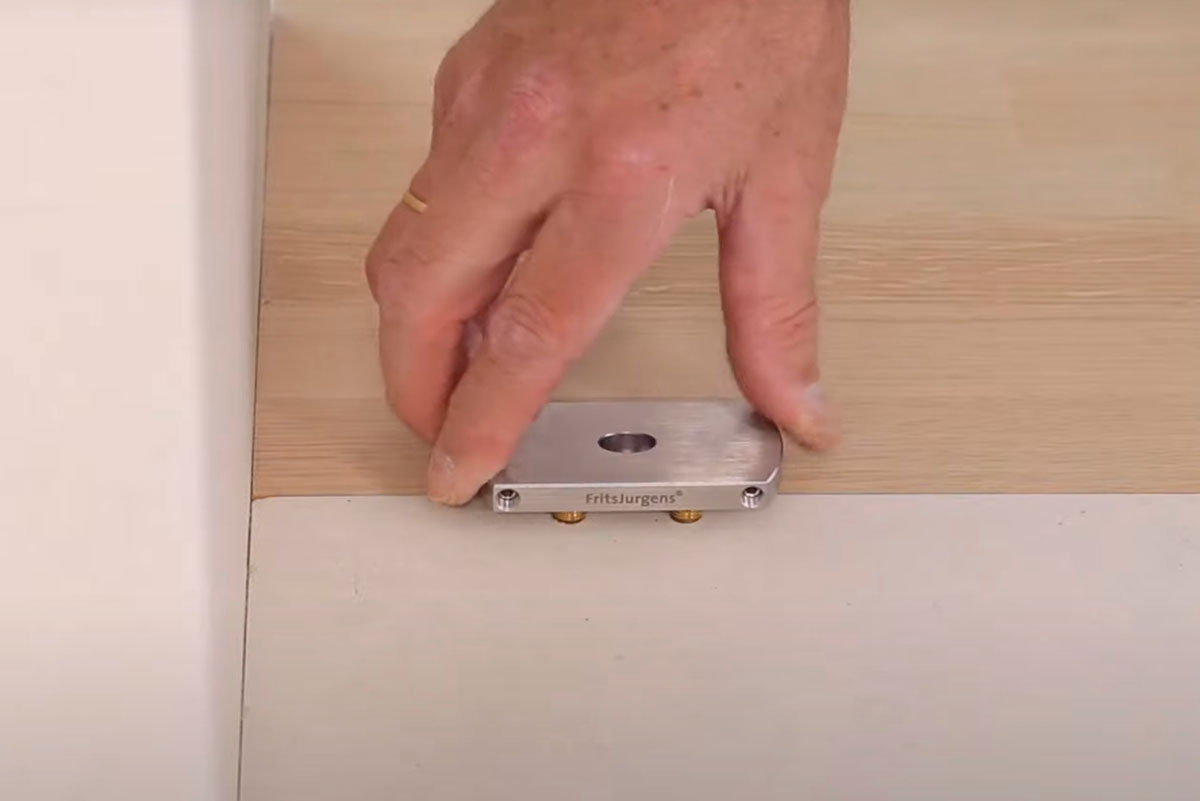
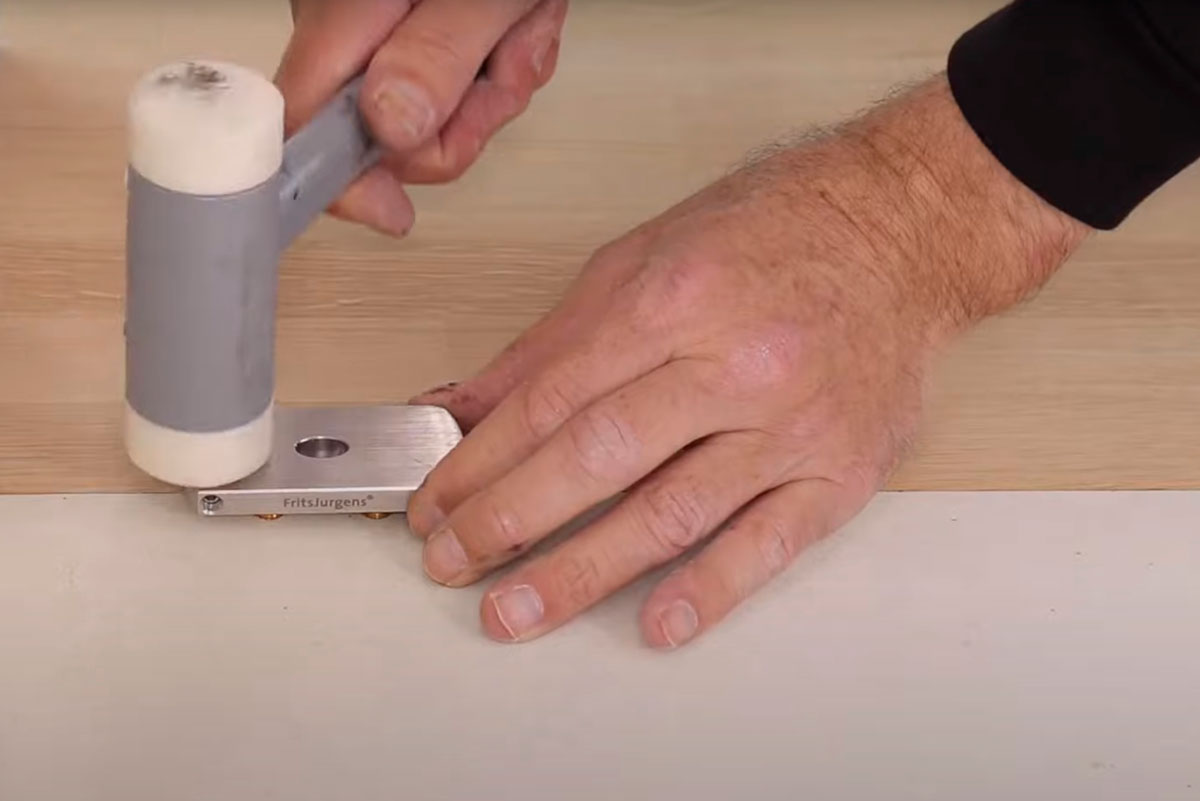 Use ribber hammer to put plate in place
 Floor plate is ready
Istallation videos were developed to help you install System M and M+ in combination with the new top pivots.
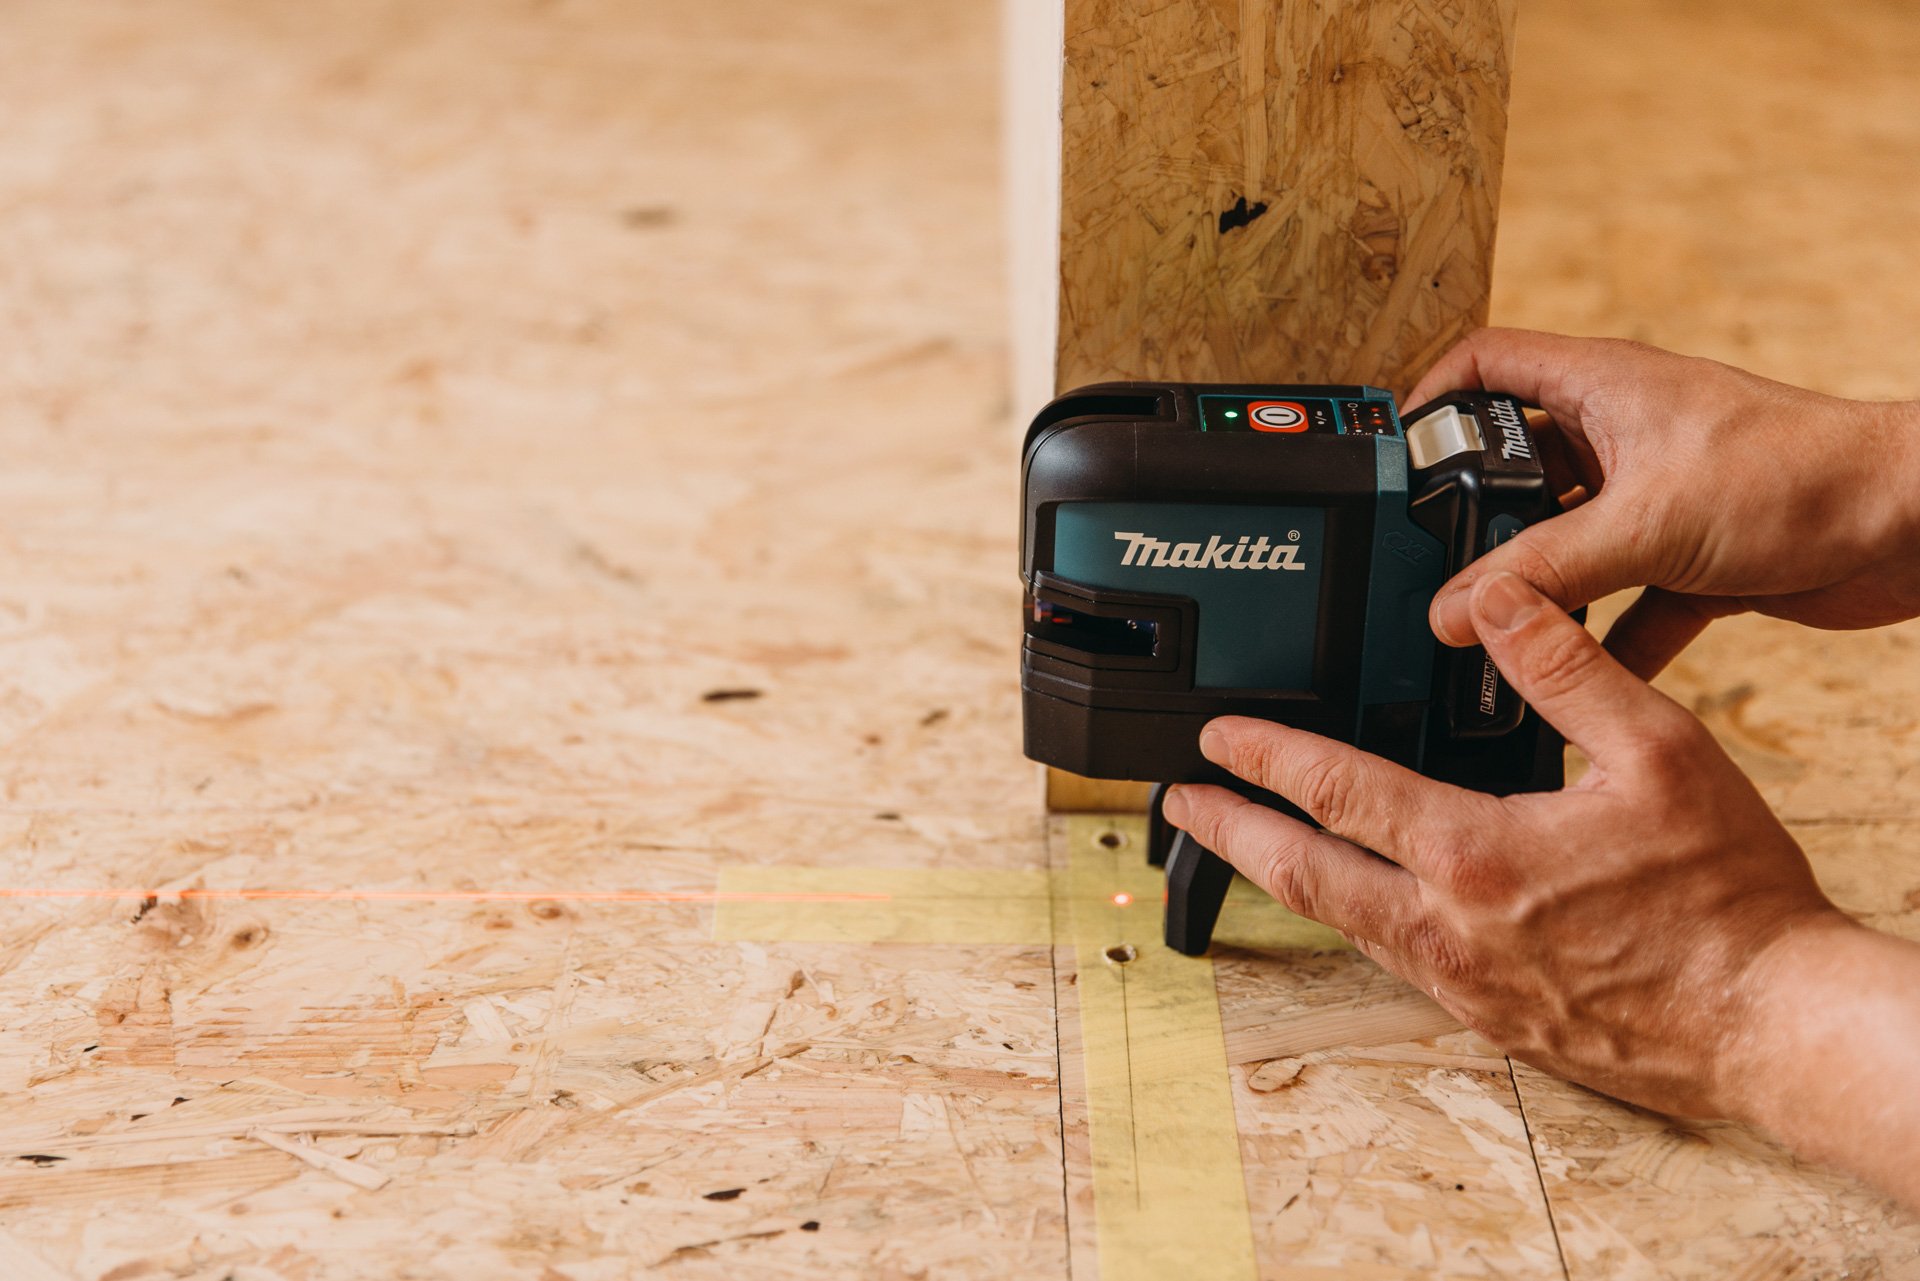
The ceiling plate position can easily be determined by using a point laser. Important: this way of installing applies to Top pivot 40 mm (TP-40) and Top pivot 70 mm (TP-70). The installation of your ceiling plate is different when Top pivot Reversed (TP-R) is applied because this system is mounted in the ceiling or door head instead of in the top of the door.
The hole for the tube on top of the ceiling plate is drilled, and the screws can be pre-drilled. The top of the ceiling plate is covered with glue and can then be affixed on the ceiling. Lastly, the plate is affixed with screws as well to secure it.

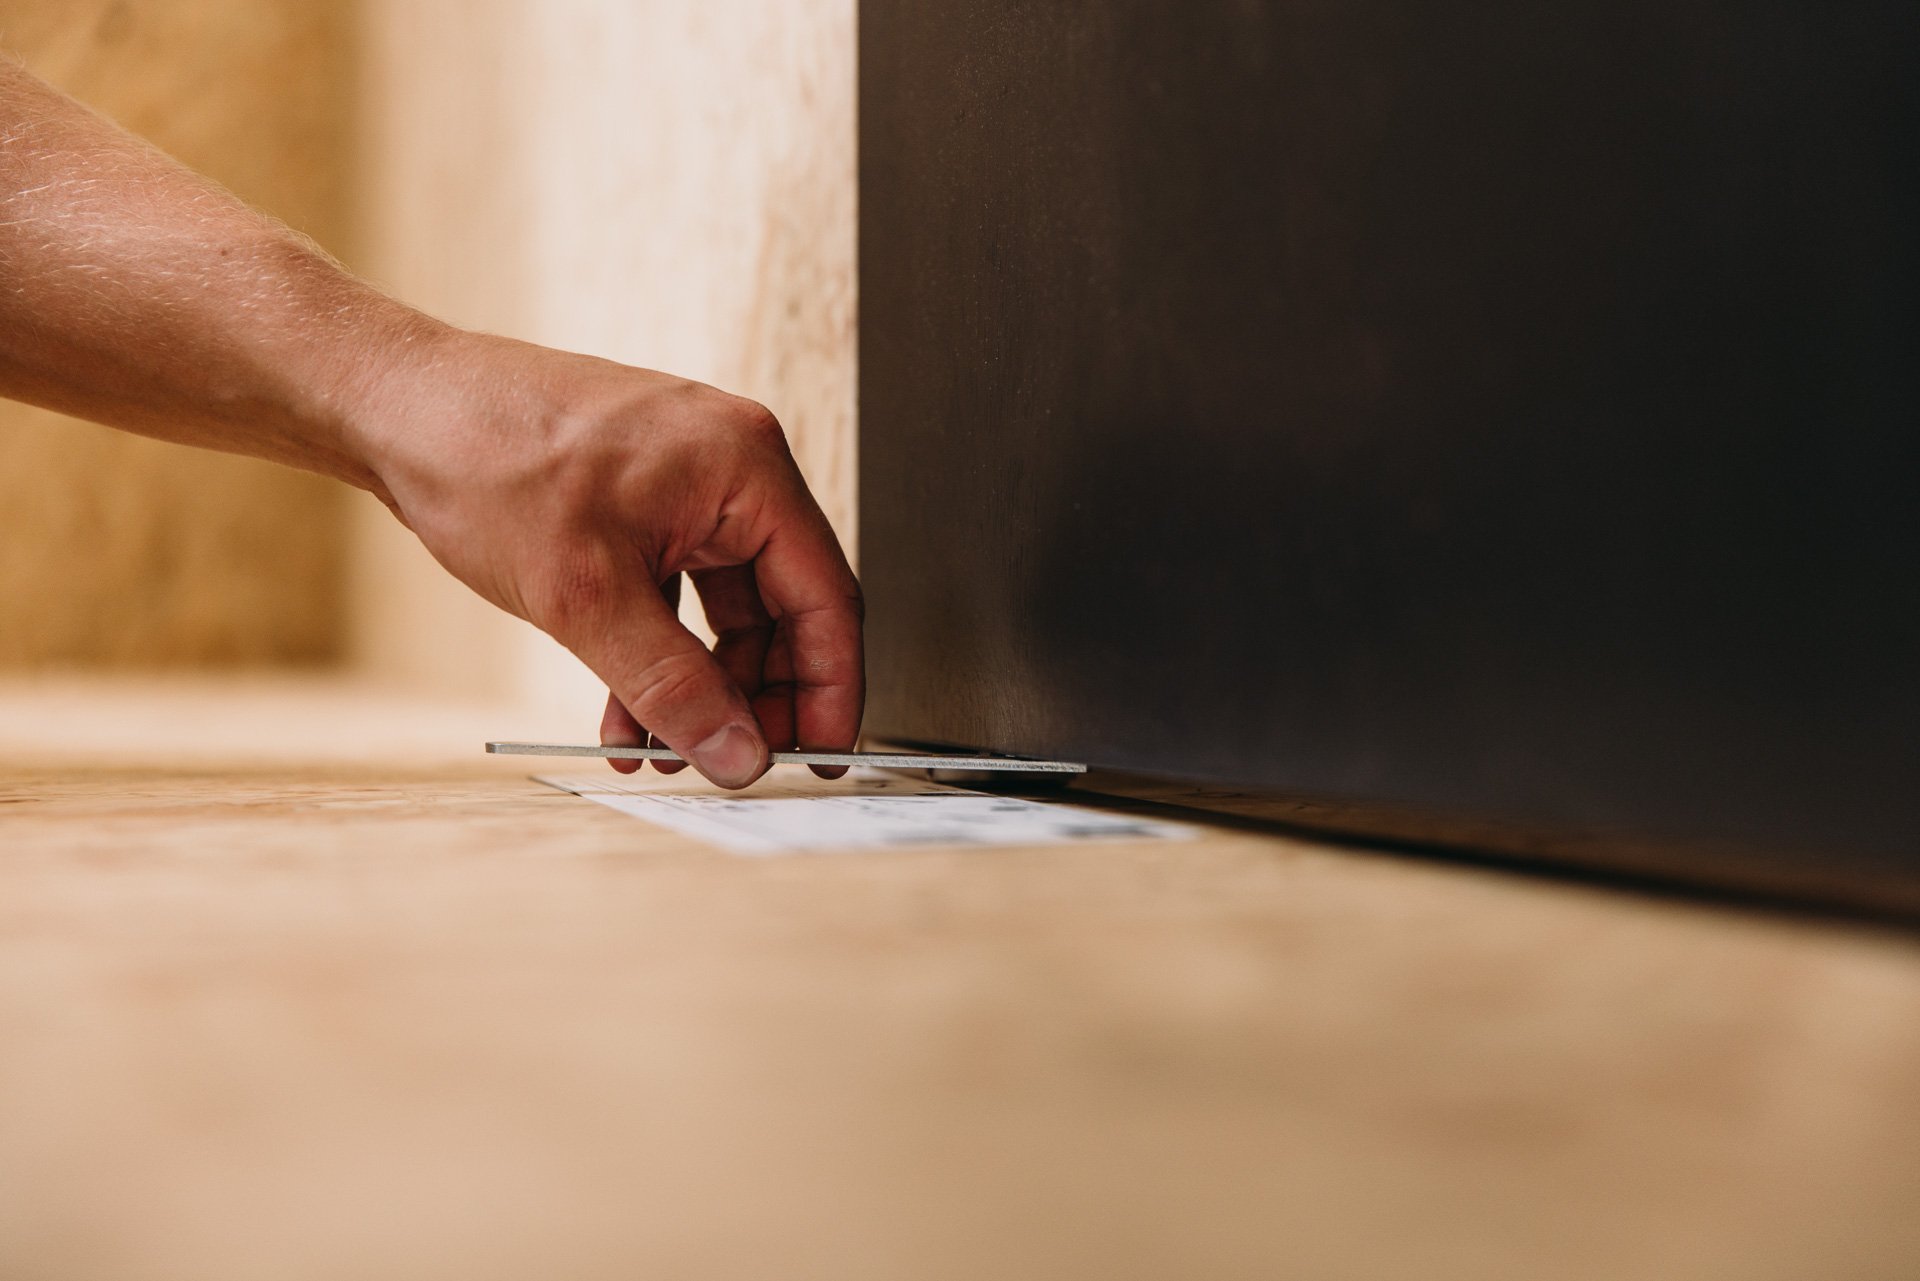
The door can easily be placed by first lifting the oval spindle on the System M+ or System M into the notch in the floor plate. It is important that the door is placed in its open position, so the oval spindle should be rotated into that direction. The Axle Wrench is a useful accessory to accomplish this.
After the door is placed on the floor, the top pivot is extended by turning the included hex key in the bottom hole at the top of the door eight times (TP-40 & TP-70) or sixteen times (TP-CG).
Important: this way of installing applies to Top pivot 40 mm (TP-40) and Top pivot 70 mm (TP-70). When Top pivot Reversed (TP-R) is applied, the spindle is rotated downward (from the top pivot in the ceiling or door head) into the receiver in the top of the door – reversed.

Both the door’s placement and movement can be fine-tuned when you’ve applied System M+ or System M.

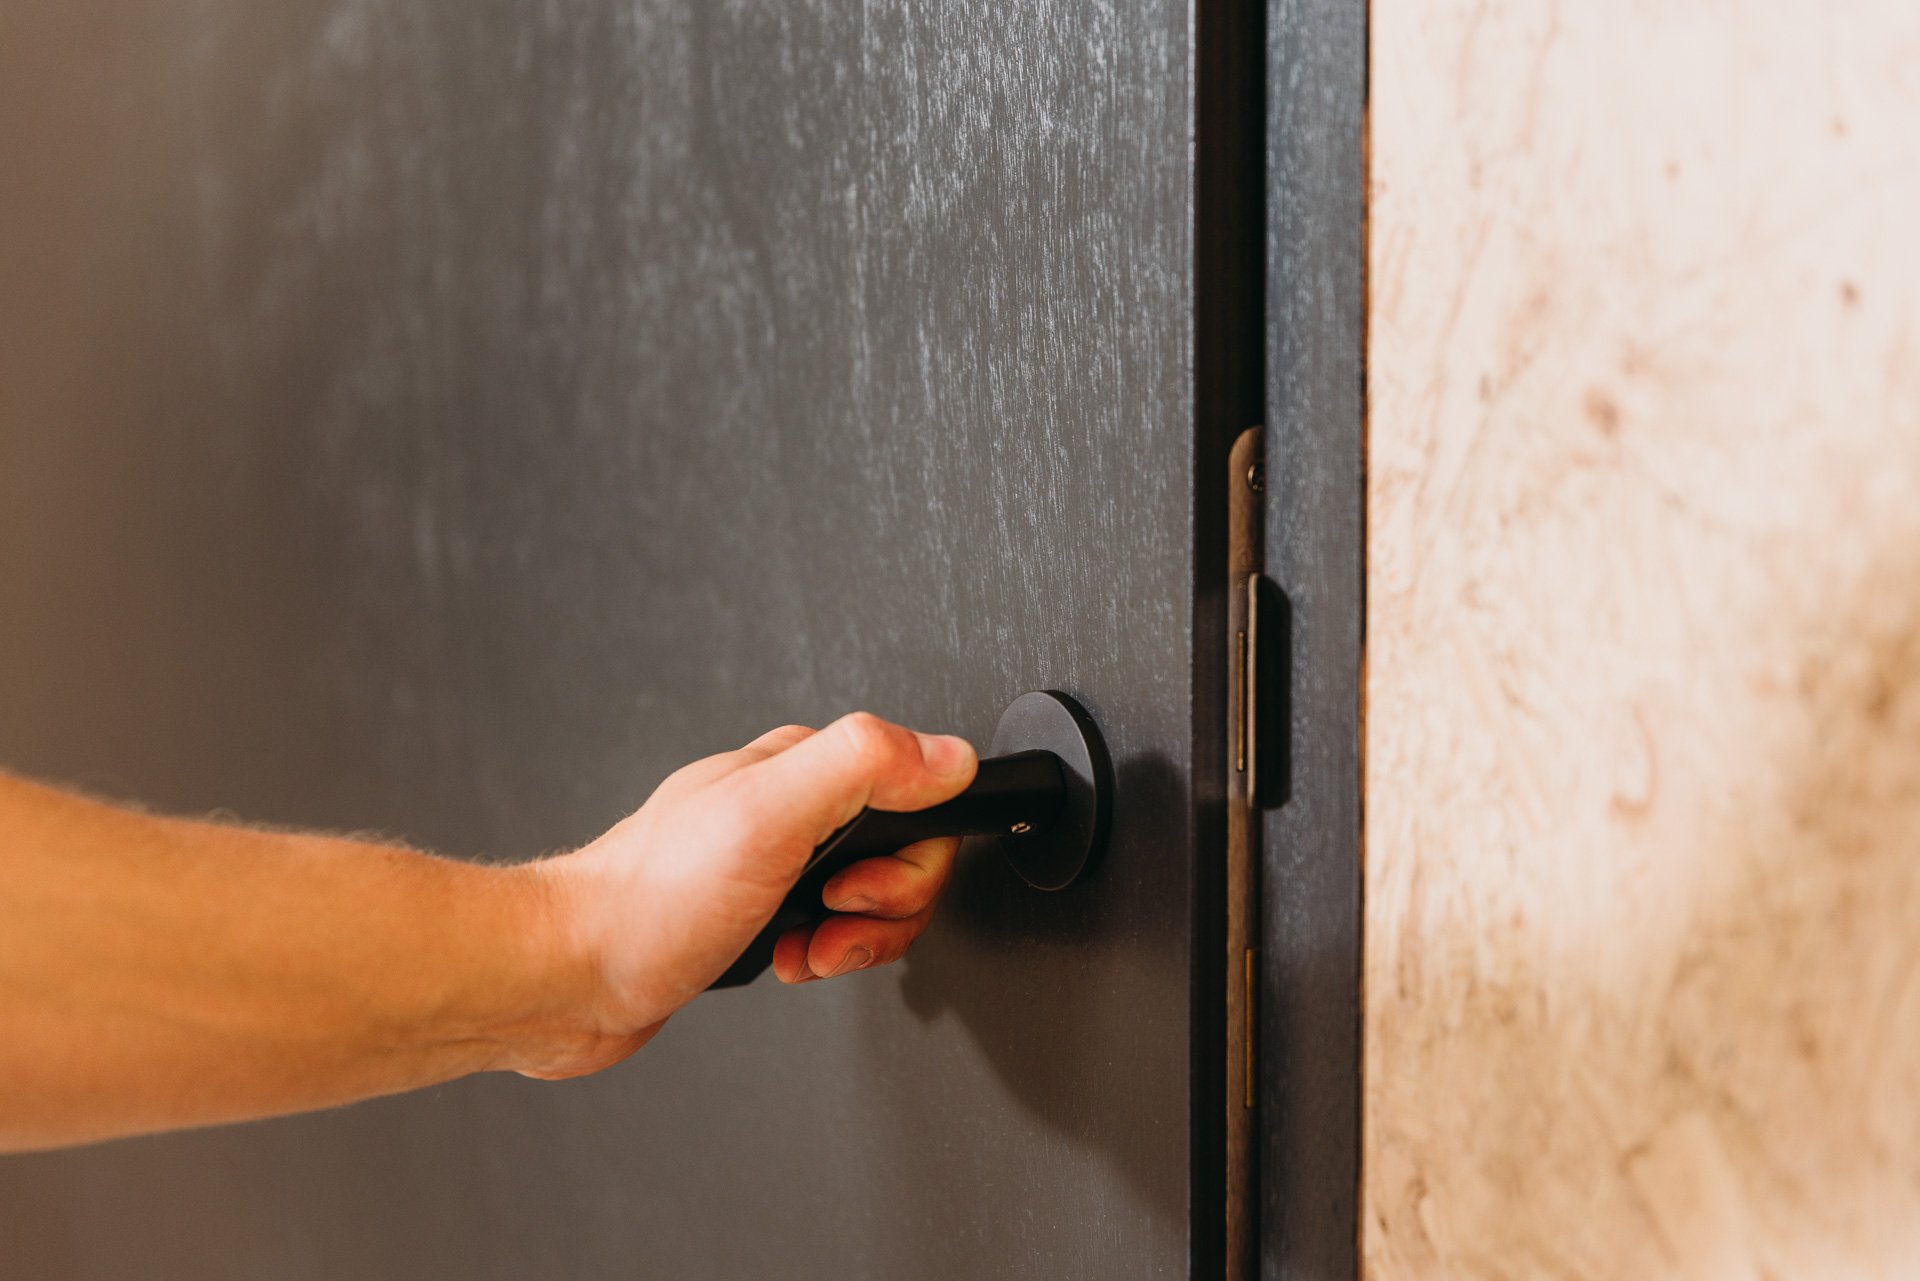
Fine-tuning the radial position allows you to move the door 2,5 degrees forward or backward to make the door flush in the wall or frame. The radial position is adjusted on the floor plate.

You can now fine-tune the door’s closing seam. This is done by accessing the top pivot through the top hole in the door.
Important: this way of fine-tuning applies to Top pivot 40 mm (TP-40) and Top pivot 70 mm (TP-70). When Top pivot Reversed (TP-R) is applied, this screw is located on the bottom of the system in the door or door head.
Fine-tuning the movement of the door is different for System M and System M+. System M+ has two extra fine-tuning options for the door’s movement, which is why this step is slightly different between these systems. System M has adjustable Damper Control, System M+ has adjustable Damper Control, 30° Speed Control, and Latch Control.
Glenview Doors® is a BMD company, a building solutions manufacturer supplying the finest quality building products for nearly 80 years.